
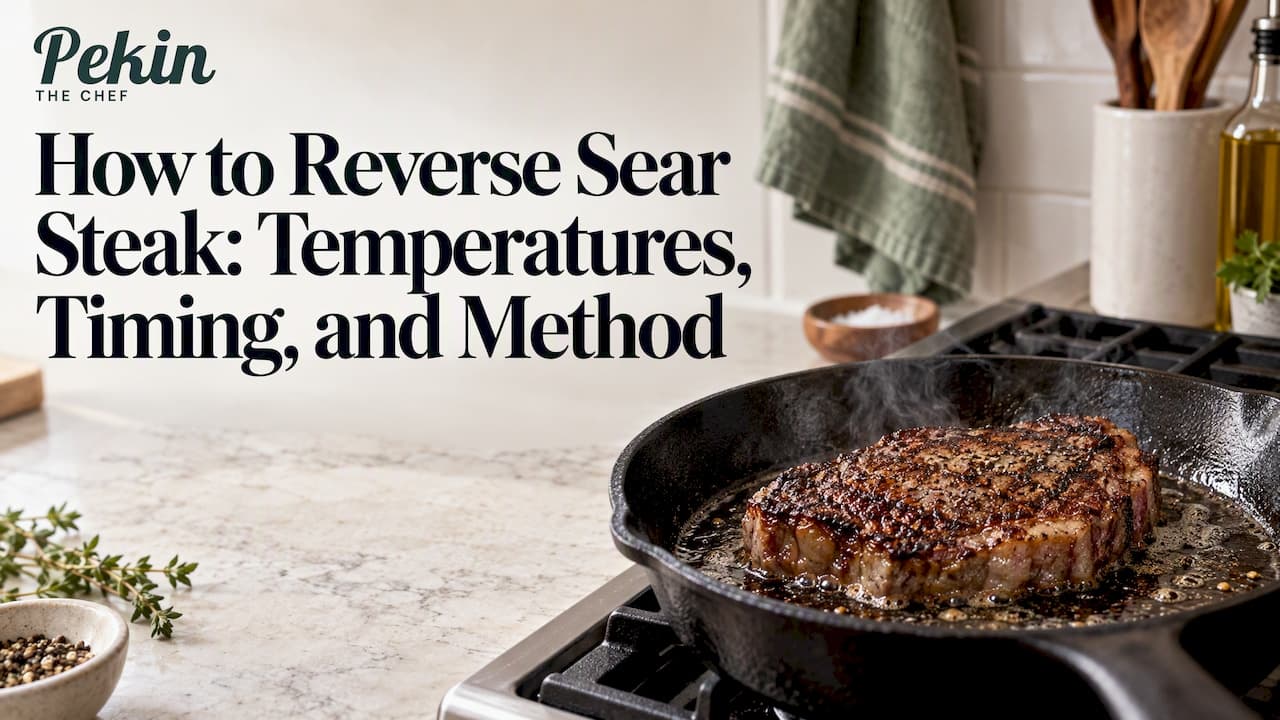
To reverse sear a steak, you cook it gently in a low oven (200°F to 250°F) until it is about 10 to 15 degrees short of your target, then give it a hard, fast sear in a screaming-hot cast iron pan. The result is a steak that is evenly rosy from edge to edge, with a deeply browned crust, which is exactly what a good steakhouse sends out. It takes more patience than a traditional pan-sear, but far less skill, because the slow stage forgives almost every mistake.
Below you will find the exact temperatures, a step-by-step method for the oven and cast iron, the food-safety facts you should know before choosing a doneness, and the steaks that reward the technique most.
TL;DR
- Cook a steak at least 1.5 inches thick at 200°F to 250°F until the center is roughly 10 to 15°F below your final target, then sear 45 to 60 seconds per side in a very hot cast iron pan.
- Pull temperatures: about 110 to 115°F for medium-rare, 125 to 130°F for medium. The sear adds the rest.
- Dry the surface well and salt ahead of time. A dry steak browns; a wet one steams.
- USDA's safe minimum for beef steaks is 145°F with a three-minute rest, so choose your doneness knowingly, and cook to 145°F if anyone at the table is vulnerable.
- Use a probe or instant-read thermometer. Time is a guess; temperature is the answer.
Table of Contents
- Why reverse searing works
- Which steaks suit the reverse sear
- Temperatures: oven, pull point, and final doneness
- Food safety: know what 145°F means
- Step by step: reverse sear in the oven and cast iron
- Reverse sear on the grill
- Common mistakes and quick fixes
- Our perspective on the reverse sear
- Serving ideas that finish the plate
- Find the restaurant steak you want to recreate
- FAQ
- Sources
Why reverse searing works
The classic method sears first and finishes in the pan or oven. The trouble is the gradient: by the time the center reaches medium-rare, the outer half inch has been pushed well past it, leaving a gray band under the crust. Reverse searing flips the order. The oven brings the whole steak up slowly and evenly, and the sear, which lasts only a minute or two, adds color and flavor without cooking much deeper.
There is a second, quieter benefit. The slow stage dries the surface of the meat, and a dry surface is what lets the crust form almost instantly in the pan. The sear is shorter, which means less overcooked meat beneath it.
You may have heard that searing first "locks in the juices." Chef and author J. Kenji López-Alt has called that idea a myth, explaining in an interview with The Splendid Table that traditional recipes start fast and finish slow, and that starting low and searing at the end serves the meat better. Pan-searing creates flavor, not a waterproof seal.

The physics in one paragraph
A food-science breakdown from Absurdly Optimized describes the reverse sear as the opposite of a conventional sear: instead of maximum heat for seconds, you apply minimal heat for most of an hour, with the chamber near 225°F while the center slowly drifts upward. That gentle climb is why the interior comes out so uniform.
Which steaks suit the reverse sear
Thickness is the deciding factor. A steak at least 1.5 inches thick is the sweet spot; one popular home-cook guide says it almost always reverse sears anything at that thickness. Thin steaks, under an inch, overcook in the pan before the sear has time to do its work, so they are better cooked the traditional way, hot and quick.
The best candidates:
- Ribeye, bone-in or boneless. Generous marbling renders slowly in the oven and bastes the meat from within. Our recipe for 4 Charles Prime Rib's dry aged bone-in ribeye is a good study in how a thick, well-marbled cut behaves.
- Thick strip or porterhouse. The strip side benefits from the even cook, and the filet side stays tender.
- Filet mignon. Lean and mild, it is the least forgiving cut in a hot pan, and the gentle oven stage protects it. See how a steakhouse handles it in 1776 Steakhouse's bone-in filet mignon.
- Tomahawk and other very thick cuts. They need the slow stage; there is no other practical way to cook them through without charring the outside.
- Coulotte and other thick lean cuts. Worth trying with 1540 Room's coulotte steak as inspiration.
Temperatures: oven, pull point, and final doneness
Three numbers matter: the oven temperature, the temperature at which you take the steak out, and the final temperature after the sear and a short rest.
Oven temperature
Anywhere from 200°F to 275°F works. Lower gives you more control and a wider window to catch the right temperature, at the cost of a longer wait. Most home cooks settle at 225°F to 250°F. At 225°F, expect roughly 35 to 60 minutes for a 1.5-inch steak starting from the fridge, though your oven and steak will vary. Let the thermometer decide.

Pull temperatures by doneness
The working rule is to pull the steak about 10 to 15°F below your goal, because the sear and rest add heat. The following figures reflect the ranges in this oven and cast iron guide, rounded into a single practical chart:
| Doneness | Pull from oven at | Final temp after sear and rest |
|---|---|---|
| Rare | 100 to 105°F | 115 to 120°F |
| Medium-rare | 110 to 115°F | 125 to 130°F |
| Medium | 125 to 130°F | 140 to 145°F |
| Medium-well | 135 to 140°F | 150 to 155°F |
If you read Spanish, a guide to steak doneness points with temperatures lays out the same idea from a restaurant kitchen's perspective: each degree of doneness has a window, and the thermometer beats intuition.
The thinner or smaller the steak, the closer to the lower number you should pull, since a small steak picks up heat faster in the pan.
Food safety: know what 145°F means
This is the part many reverse-sear guides skip. The USDA's guidance is that beef steaks should reach a minimum internal temperature of 145°F, followed by at least a three-minute rest, as stated in the Food Safety and Inspection Service's Q&A. A rare or medium-rare steak is below that line, so cooking one is a personal risk decision, not an official recommendation.
What should you do with that?
- If you are cooking for young children, pregnant women, older adults, or anyone with a weakened immune system, take the steak to 145°F and rest it three minutes. Ask their doctor if you are unsure about a specific condition.
- Always use a food thermometer. The American Heart Association advises placing an instant-read thermometer in the thickest part of the meat, toward the end of the cooking time.
- Buy whole-muscle steaks from a source you trust, and keep them refrigerated until you start. Ground beef and mechanically tenderized cuts are a different matter, so cook them to the temperatures printed on their packaging.
A slow oven stage does have one safety-friendly feature: the surface spends a long time warm and then gets seared at a very high heat. That is not a substitute for reaching the temperature on the chart above, though.
A restaurant perspective on the same question appears in a Spanish-language piece on resting and removing meat a few degrees early, which makes the case for pulling steaks 2 to 5 ºC before the target to allow for carryover heat. The principle holds in any language: rest time is part of the cook.
Step by step: reverse sear in the oven and cast iron
You need a steak 1.5 inches or thicker, kosher salt, black pepper, a wire rack set in a rimmed baking sheet, a heavy cast iron skillet, a high-smoke-point oil, and a thermometer (a leave-in probe is ideal).
- Season ahead. Pat the steak thoroughly dry with paper towels, then salt all sides. Even 45 minutes at room temperature helps; overnight, uncovered on a rack in the refrigerator, is better, since it dries the surface further. Add pepper just before cooking.
- Heat the oven. Set it to 225°F to 250°F with a rack in the middle.
- Cook slowly. Set the steak on the wire rack so hot air circulates all around. Insert the probe into the thickest part, away from bone. Cook until the center is 10 to 15°F below your target, using the chart above.
- Rest briefly. Take the steak out and let it sit for about 5 minutes while the pan heats. It will not cool much, and the surface will look dry and tacky, which is exactly right.
- Heat the cast iron. Set the skillet over high heat for several minutes until it is smoking lightly. Add a thin film of oil with a high smoke point, such as peanut, avocado, or refined canola.
- Sear. Lay the steak in the pan and press gently. Sear about 45 to 60 seconds per side, until deeply browned. Use tongs to brown the edges for 15 seconds each. Add butter, garlic, and thyme in the last 30 seconds if you like, and spoon it over the top.
- Rest again. Give it 3 to 5 minutes on a board before slicing. Check the temperature once more if you are aiming at 145°F.
A note on cast iron
Cast iron stores heat, so it does not drop in temperature when the steak lands, which is why it is the favorite for the final sear. Open a window and turn on the vent, because the smoke is real. A carbon steel pan works nearly as well. A thin nonstick pan does not.
Reverse sear on the grill
The same method works outside with a two-zone fire. Bank the coals to one side, or light only half the burners. Put the steak on the cool side with the lid closed and aim for a grate temperature around 225°F to 250°F. When the steak reaches its pull temperature, move it over the hot side, lid open, and sear each side for a minute or two, flipping once or twice. The grill adds a smoky edge the oven cannot, and it keeps the heat out of your kitchen in summer.
Common mistakes and quick fixes
- A gray, patchy crust. The surface was wet or the pan was not hot enough. Dry the steak longer and wait for the first wisp of smoke.
- Overshooting the pull temperature. Start checking 10 minutes early the first time. Ovens run hot, and small steaks climb quickly.
- Using a thin steak. Under an inch, the oven stage barely matters. Sear it the traditional way.
- Crowding the pan. Two steaks in a 12-inch skillet is the limit. Sear in batches and keep the first one resting.
- Slicing right away. Resting lets the juices settle, and the USDA's three-minute minimum applies too.
- Oiling the steak instead of the pan. Either works, but a thin coat on the steak helps the sear brown evenly without a pool of oil in the skillet.
Our perspective on the reverse sear
We spend most of our time reverse-engineering restaurant dishes, and a pattern keeps showing up: the steaks people rave about at steakhouses are rarely about secret ingredients. They are about control. A dry-aged ribeye, a bone-in filet, a king cut, they all depend on a kitchen that manages heat patiently and then finishes with ferocity. The reverse sear is the home cook's way of borrowing that control, because an oven set at a low temperature is the closest thing a house has to a steakhouse's warming zone.
Our advice is to treat the first attempt as a calibration. Use a mid-priced ribeye, a probe thermometer, and write down the oven temperature, the pull temperature, and the time. Your oven's quirks will be in those notes by the second steak. Then explore: a dry-aged 14-ounce ribeye from 360 Grille, a bar steak from 8595 Restaurant & Bar, or a king cut from 4 Charles Prime Rib will each teach you something different about thickness, fat, and finish. Be honest about safety, too: choose your doneness knowingly, and cook to 145°F when the table calls for it.
— Rhys
Serving ideas that finish the plate
A reverse-seared steak needs little: flaky salt, a pat of herb butter, and a vegetable with some bitterness, such as charred broccolini or a sharp arugula salad. For a bistro plate, pair it with crisp fries, and see how 84 Italian Steakhouse builds its steak frites. For something more celebratory, the combination of steak and lobster in 84 Italian Steakhouse's surf and turf thermidor shows how a rich sauce can sit alongside a perfectly cooked piece of beef.
One small tip: slice against the grain, and serve the pieces fanned out so the pink center is visible. The first glance tells your guests you got it right.
Find the restaurant steak you want to recreate
If you would rather start from a specific dish than a technique, Pek in the Chef collects recipes inspired by popular restaurant plates, rated and commented on by other home cooks, so you can see what worked in real kitchens before you fire up the oven. Browse by restaurant, dish, cuisine, or prep time on our home page, or start with a restaurant collection such as 57 Ninety Restaurant. When a recipe suggests a tool, like a probe thermometer or a cast iron skillet, those links may earn us a commission at no extra cost to you.
FAQ
How long should I sear a steak when reverse searing?
About 45 to 60 seconds per side in a very hot pan is enough for a steak that has already cooked in the oven. Add 15 seconds or so for each edge. If the crust is not browning by then, the surface was too wet or the pan too cool, and extending the time will only overcook the meat beneath.
What temperature should I reverse sear a steak at?
Set the oven to somewhere between 200°F and 250°F, and pull the steak 10 to 15°F below your goal: about 110 to 115°F for medium-rare. Sear in a pan heated until it just begins to smoke. Remember that the USDA's safe minimum for beef steaks is 145°F with a three-minute rest.
Can I reverse sear a steak in a cast iron skillet only, without an oven?
Not really, since the method depends on gentle, even heat that a skillet cannot provide. Cast iron is the sear stage. If you have no oven, use a two-zone grill, or try a covered skillet on the lowest heat for the first stage, though the results are less even.
How do you reverse sear a steak on the grill?
Build a two-zone fire with one side hot and one side cool. Cook the steak on the cool side with the lid closed until it reaches the pull temperature, then move it directly over the heat and sear each side for a minute or two with the lid open.
Is reverse searing worth it for a thin steak?
No. A steak under an inch thick will overcook during the sear before the benefits show up. Reserve the method for steaks 1.5 inches thick or more.
Sources
- Tailgating Food Safety Q & A, USDA Food Safety and Inspection Service
- Food Safety: Safe Temperatures for Cooking Meat and Poultry, American Heart Association
- 3 techniques to improve your home cooking, The Splendid Table
- Absurdly Optimized Meat Slabs, Absurdly Optimized
- Reverse Sear Steak (Oven + Cast Iron), What's in the Pan